Vitality 4 Life uses cookies to provide and improve our services, if you continue browsing, we consider that you accept its use. For more information, please see our privacy page.


-
 Categories: Indoor Gardens, Health Recipes, Healthy Lifestyle, Organic Gardening, Food Dehydrator Reviews, Food Dehydrator Recipes05,June,2019Read More
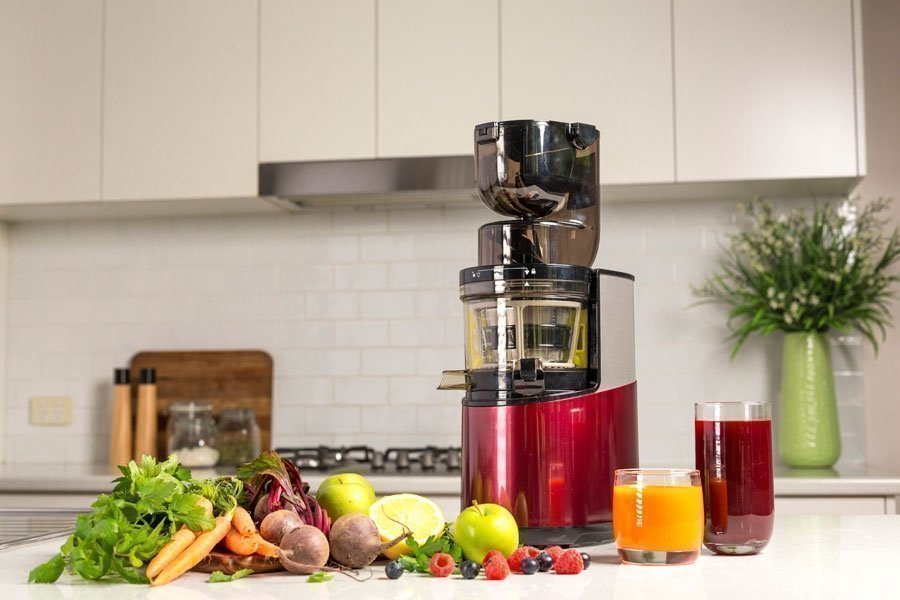
Your VegeBox Indoor Hydroponic Garden is perfect for growing leafy delicious herbs at your fingertips. Add them directly to your cooking or use as herbal remedies in soothing teas and tinctures. The added bonus is you can dry these herbs in your food dehydrator or oven and keep in sealed jars for up to six months.
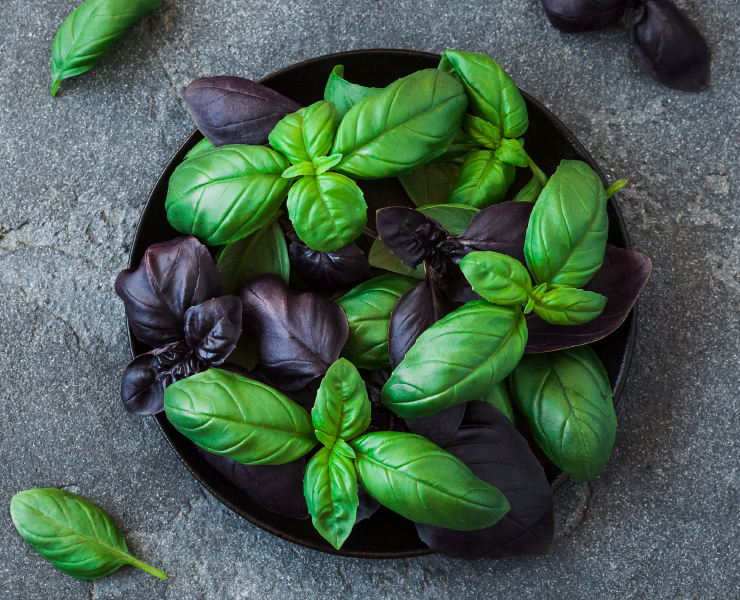
Dried Herbs from your Vegebox
No more leftovers only useful ‘do overs’.
Dried herb mixes are a simple way to add flavor to food without extra calories or additives. Store bought packaged seasonings can contain preservatives or additional sodium. Growing and making herb mixes at home with your VegeBox Indoor Garden and food dehydrators gives you ultimate control over the ingredients. You can add what you like and leave out what you don’t and they will be healthier.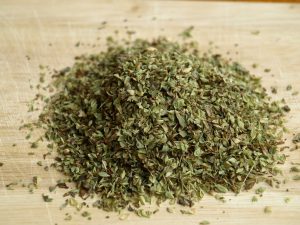
When you haven’t had the chance to use up all of your VegeBox Indoor Garden homegrown herbs rather than leaving them to rot in the bottom of the fridge you could dry them for later use. It's very simple and saves you money. Reuse those little jars over and over again.
If you don’t have a garden or patio you don’t have to worry about not being able to dry your herbs in the sun. It is quicker to use your oven or even better a food dehydrator which can be used to dry many other foods at home.
Oven Drying
Place -
 05,June,2019Read More
VegeBox - Indoor Hydroponic Gardens
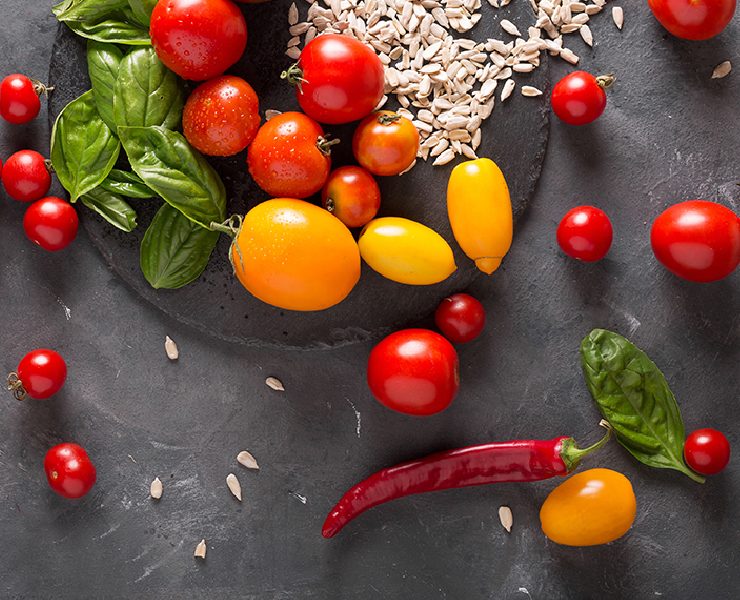
Fresh food at your finger tips...Spice up your life with red hot chilli peppers
Your VegeBox indoor vegetable garden is not only for growing greens. Add a splash of colour and spice and grow your own red hot chilli or a tangle of juicy cherry tomatoes.

There are so many reasons to spice up your foods. A study by Harvard and China National Centre for Disease Control and Prevention (2015) found that eating spicy food for seven days a week — even just once a day — lowered mortality rates by 14 percent! (Note: if you skip the cooling alcoholic beverage you could live even longer)
The other exciting thing about spicy food is that once your brain has registered the ‘pain’ it immediately starts producing endorphins, those natural little happy makers that give you a rush. That’s maybe why it’s quite addictive, but not in a bad way!
If the pain gets too much just remember that the chemical in spicy food ‘capsaicin’ is also a fat-soluble molecule so can help you on your journey to lose weight if you need to. The little chilli sure packs a spicy punch.
Beware though that if you are going to add more spicy foods to your diet remember that processed foods, as with most takeaway, usually has large amounts of added sodium. So growing your own chilli at home in your VegeBox
-
 21,May,2019Read More
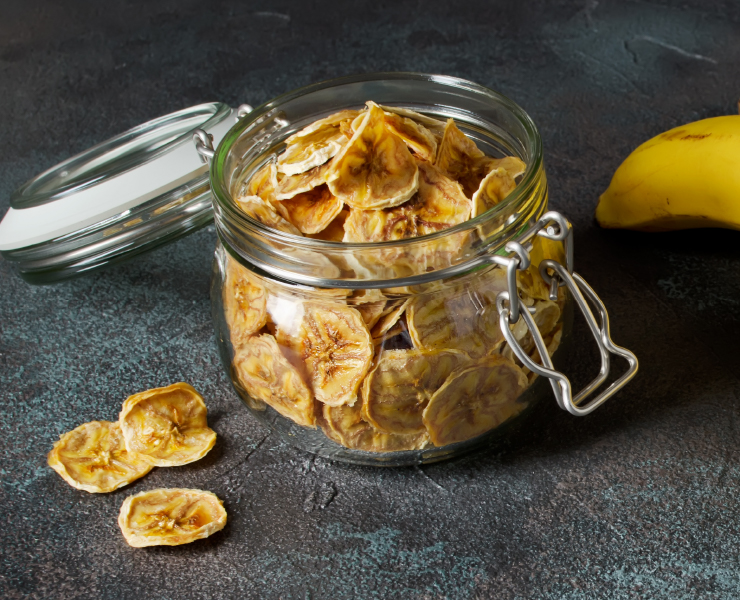
Going bananas for bananas in your food dehydrator!
Why do we go bananas for bananas? The Australian Banana page says "peel good, feel good". Bananas have bone strengthening magnesium, folate for a healthy mind and Vitamin B6 for that feel good energy. Dehydrate bananas in your BioChef Food Dehydrator for healthy snacks that last the distance.
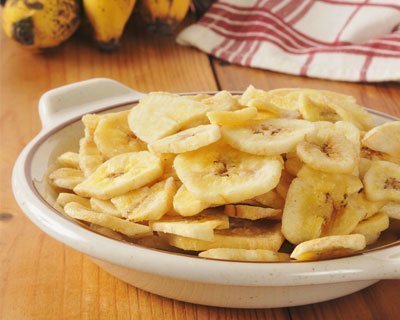
How to make banana chips in your food dehydrator
Slightly brown-flecked bananas will have the sweetest, most concentrated flavour when dried.
Peel the bananas. Slice bananas into 1/4-inch or 3/8-inch chips.
Dip each banana slice into the lemon juice. This lessens browning of the banana chips and adds a bit of vitamin C back into the banana.
Shake off the extra lemon juice and lay the banana slice on the dehydrator tray. Leave enough space between banana slices on the tray to allow sufficient air flow for drying.
Fill the available dehydrator trays with banana slices. Put the trays into the dehydrator and set initial temperature to 65 degrees Celcius or 150 degrees Fahrenheit and dry at that temperature for the first two hours.
Turn the temperature down to 55 degrees Celcius or 130 degrees Fahrenheit after two hours. From here it will take another six hours for bananas to fully dry.
Half way through, stop the food dehydrator and flip over all the banana slices. The slices are easy to peel off the dehydrator tray when they are warm, and turning ensures dryness.
Test for dryness. If the banana chips are leathery to crisp, they are done.
Cool the banana chips for a few hours in the food dehydrator before removing them. Pack dried chips into plastic bags, or vacuum
-
Read More
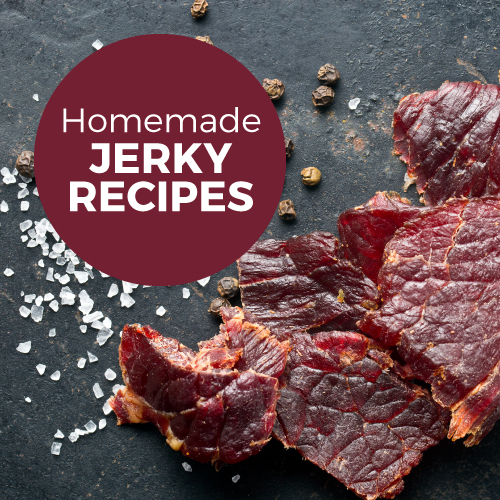
Our collection of the best meat & beef jerky recipes, hints & tips. Making beef jerky with a food dehydrator is healthier, tastier, easy & cost-effective.
Making your own beef jerky is 6 times cheaper than store-bought plus there are no preservatives, MSG or sodium nitrate. Experiment with different flavour combinations, cuts and types of meat.

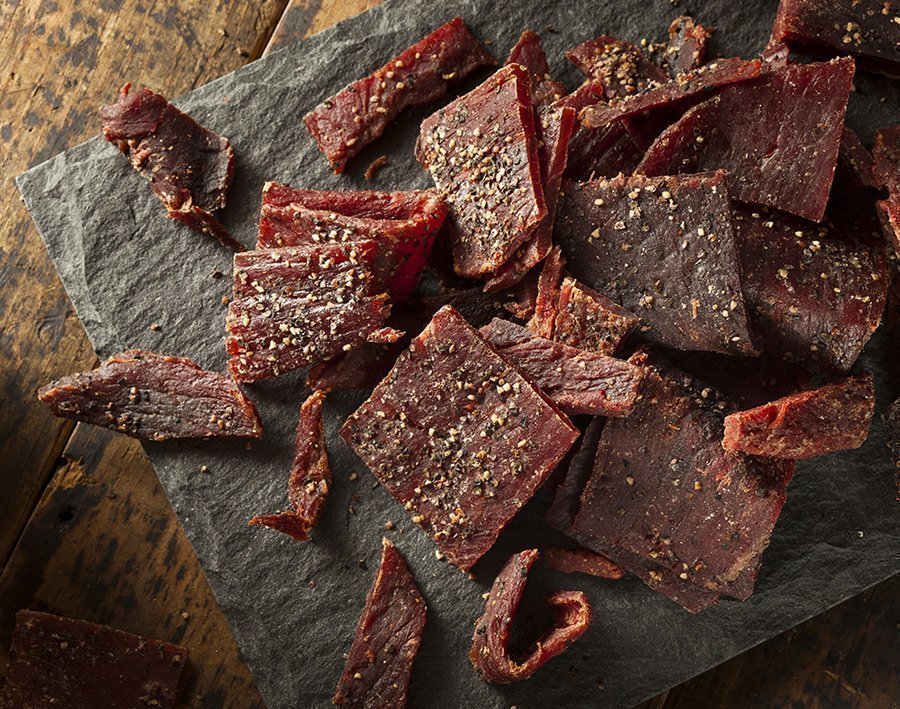
Homemade Beef Jerky: Top Tips
- Leanest cuts of meat only: fat can affect the drying times and will become rancid quickly
- Be sure to allow adequate space in between slices to allow for air circulation
- Partially freeze meat to make it easier to slice thinly
- For a chewy jerky cut strips along the grain, for a more tender jerky cut against the grain
- The thicker you slice your meat the longer it will take to dry
- Keep your strips as uniform in size as possible to ensure even drying
- Be sure to let jerky cool completely before storing as any moisture will cause the jerky to spoil.
- Always store in an airtight container, refrigerated will also extend shelf-life
Beef Jerky Recipes
Basic Jerky Recipe
Ingredients
- 1 kg trimmed beef topside steak or rump steak
- 1/2 cup of soy sauce
- 3 cloves of fresh garlic crushed
- Optional: 1 tsp chilli flakes
- Sea salt flakes, for sprinkling before drying
-
 Categories: Health Recipes, Healthy Lifestyle, Organic Gardening, Living Food, Blender Recipes, Food Dehydrator Recipes31,January,2019Read More
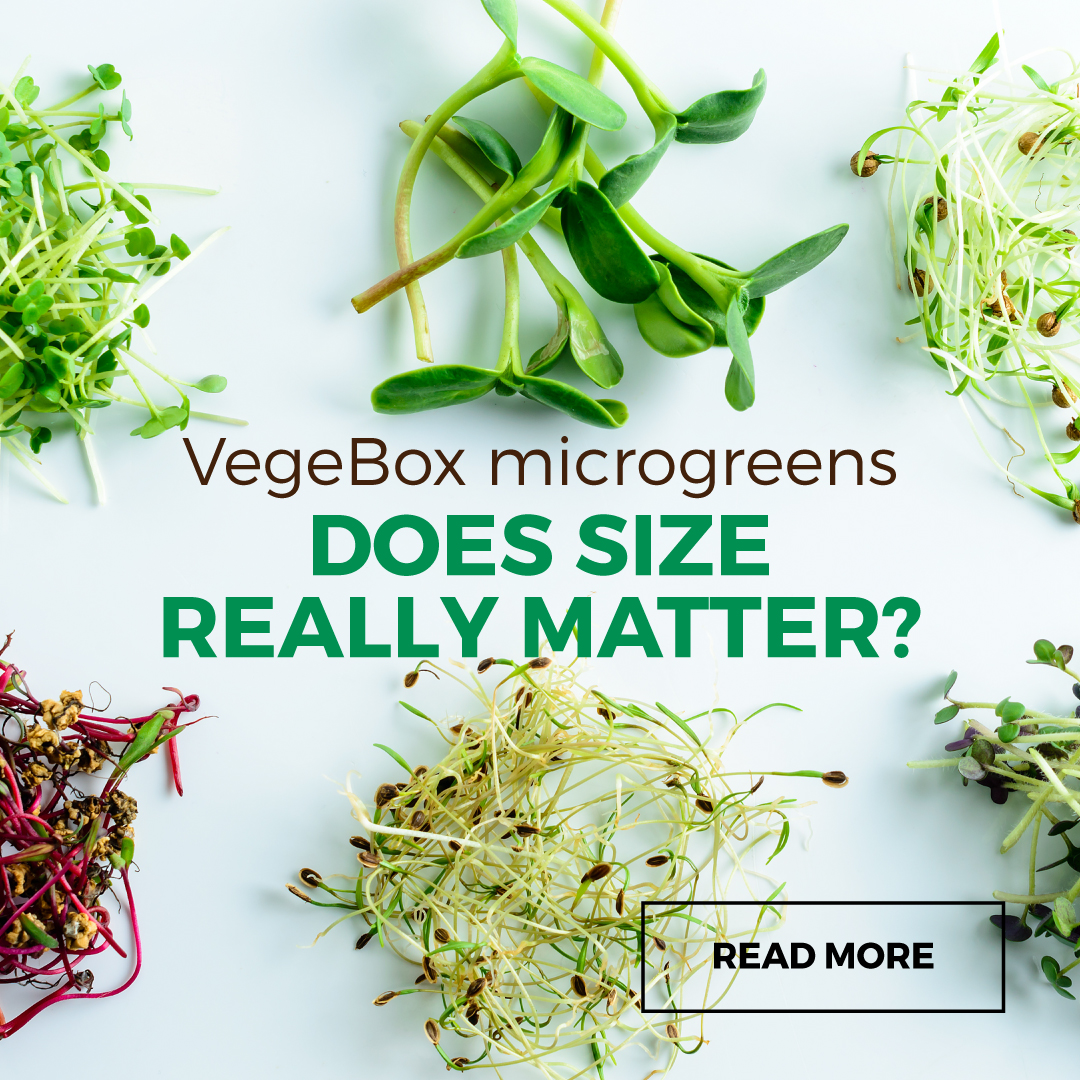
When growing microgreens it's the smaller the better
Microgreens are simply young vegetable greens or seedlings of a vegetable, herb or edible flower. They don't need a lot of room so growing them in a Vegebox indoor hydroponic garden is easy. Succulent, slender but packing a powerful, nutritious, flavour punch, microgreens are increasing in popularity. While they may seem tender and delicate they are easy to germinate and with usually five days from seed to harvest, even the most impatient gardener will be happy.
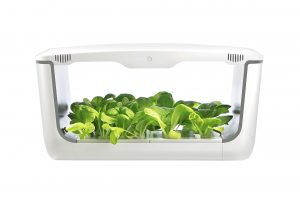
Home hydroponics is very popular especially for those who do not have a garden or patio or live in small, high rise apartments. Size matters when you don't have a lot of space and the VegeBox Indoor Vegetable Garden is compact, sleek and can fit anywhere. Plus there is no digging and weeding to be done so more time to relax.
Hydroponic vs Soil
Hydroponic microgreens have some distinct advantage over soil grown. If you are impatient like me you will love hydroponics. Plants grow up to 50 percent faster than soil grown plants. They are chemical free and less susceptible to pests and disease. Being inside they are also safe from the bigger, furry variety of pest.

-
 09,January,2019Read More
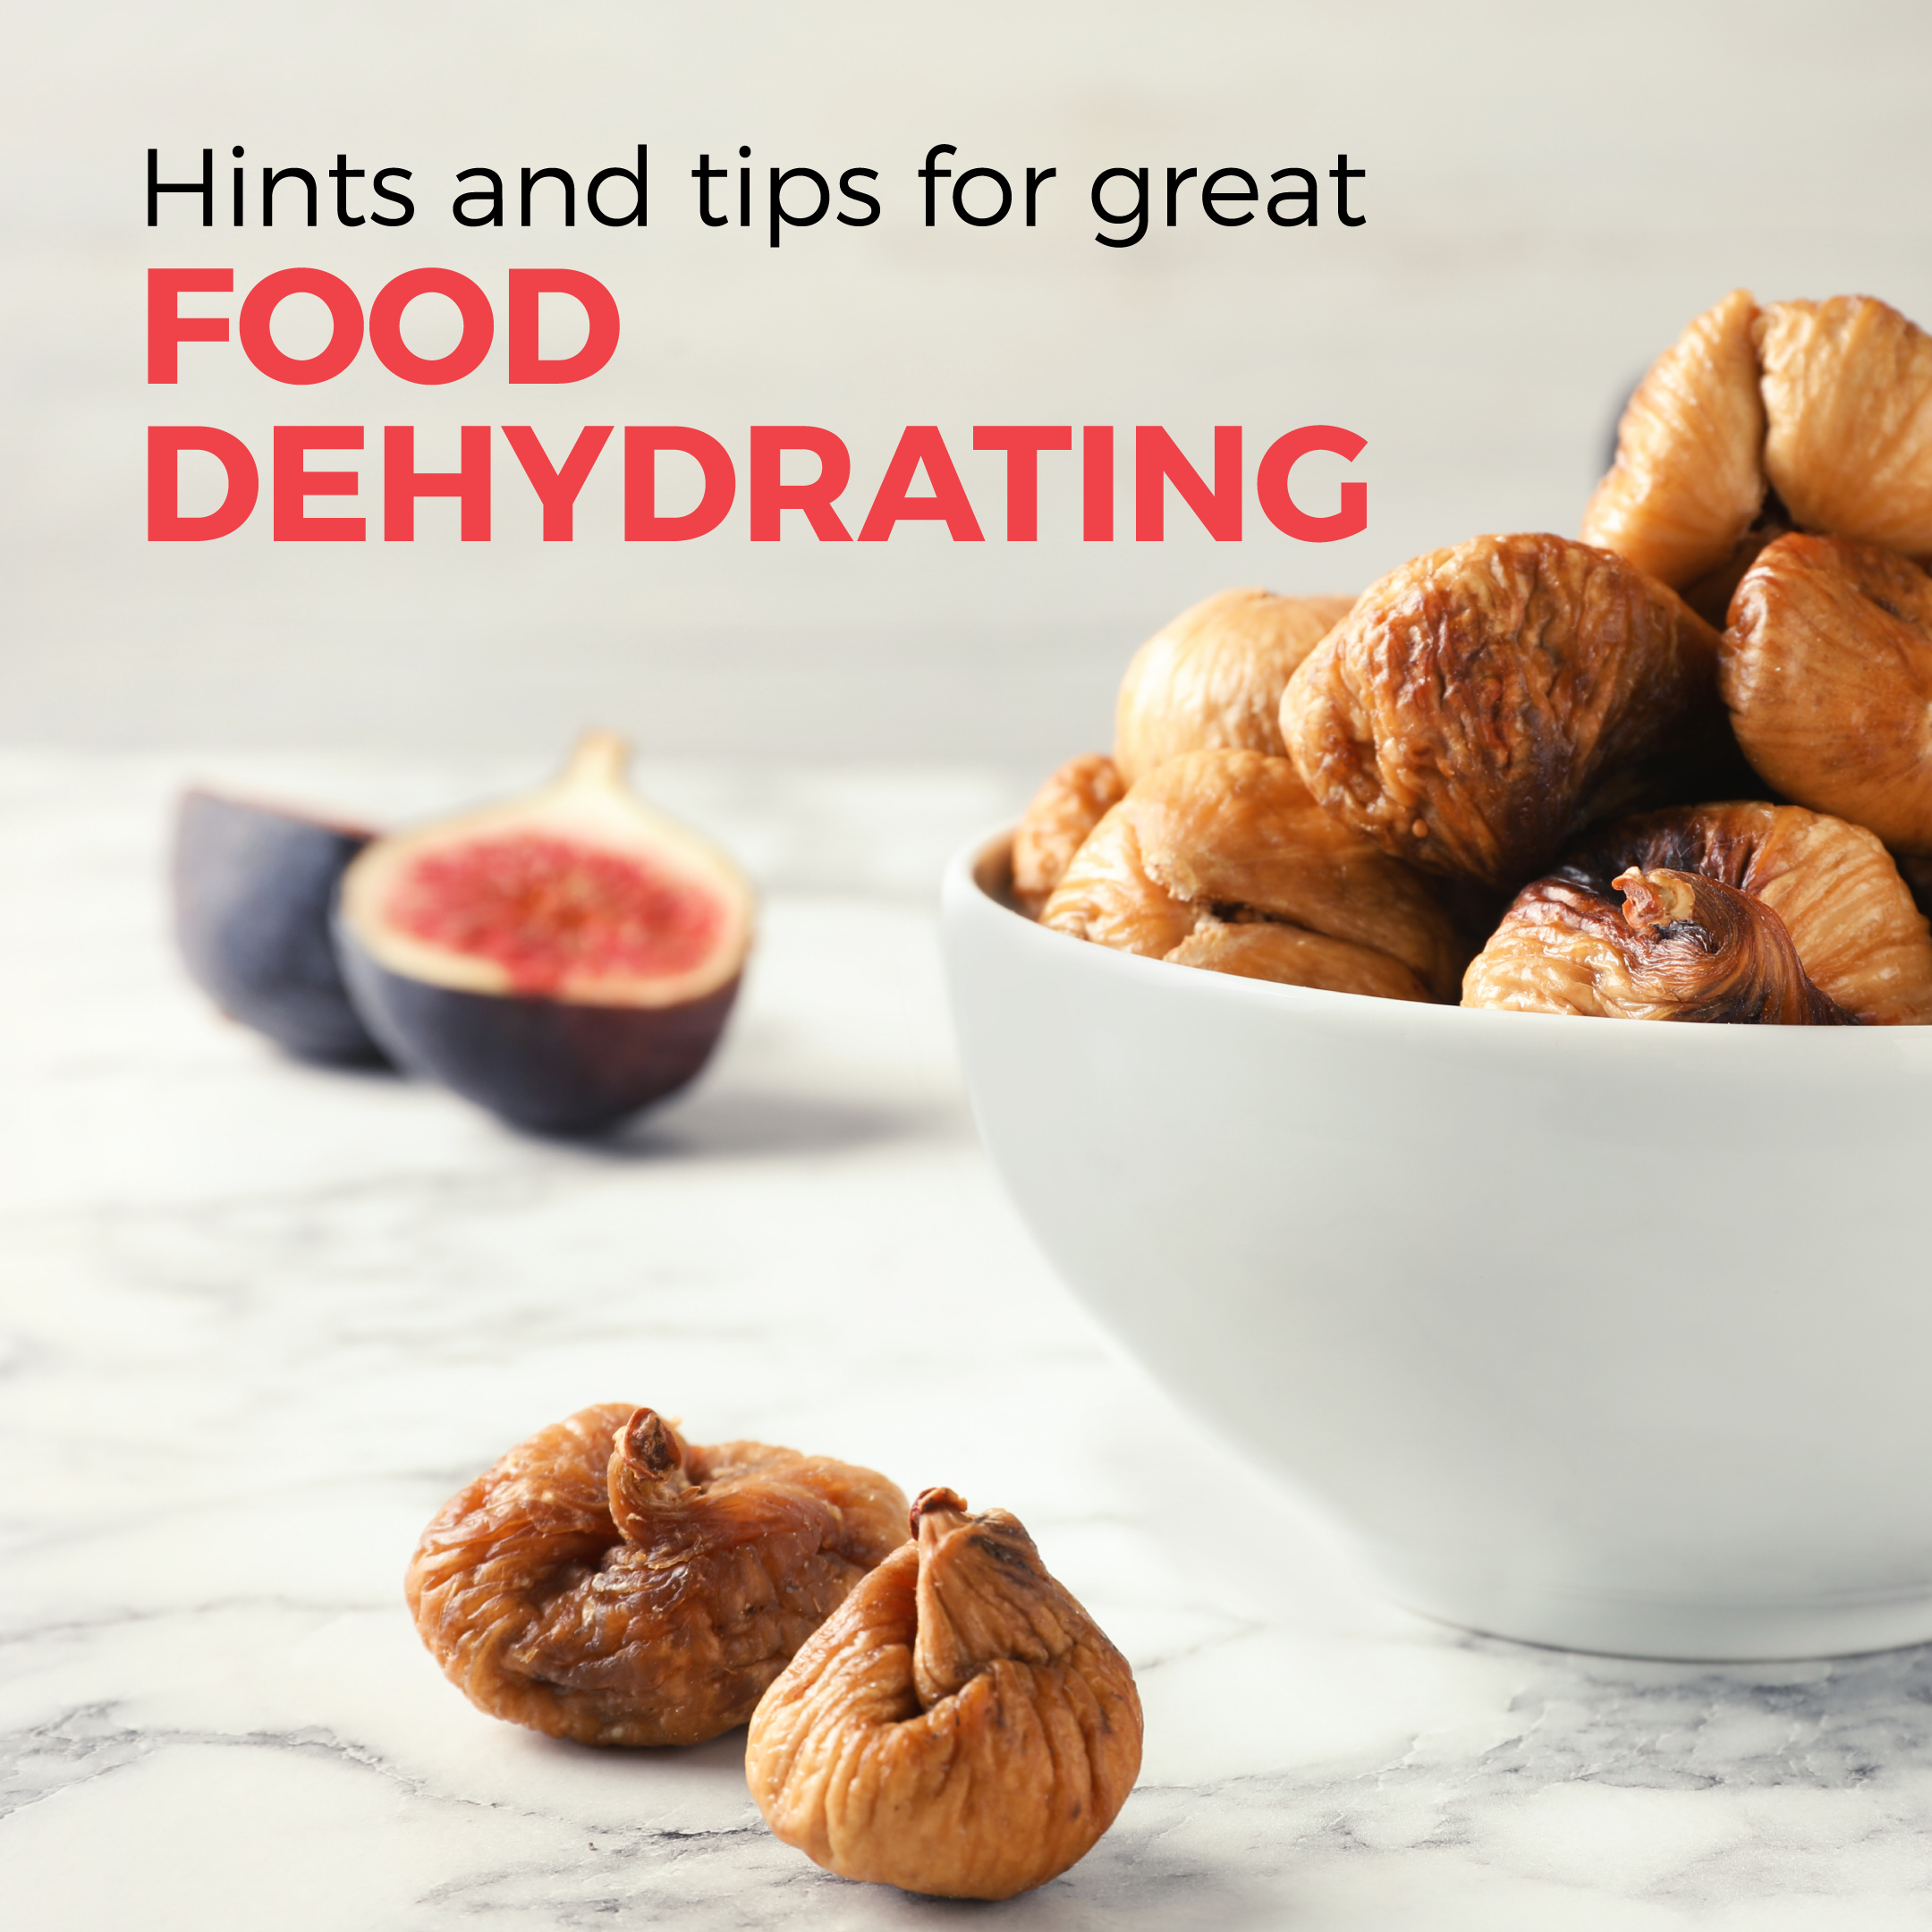
Choosing foods to dehydrate
• For best results only use highest quality foods.
• Produce in peak season has more flavour and more nutrients.
• Meats, fish and poultry should be lean and fresh.
• Do not use food with bruises and blemishes. Bad produce can spoil the entire batch.
• Remove as much fat as possible from meats prior to dehydrating. You can use a
paper towel under meat when dehydrating to absorb fat.Tips for Pre-Treatment of Foods
With most types of cooking, preparation is important for the best results. Foods that are prepared correctly prior to dehydration will taste better and have a better appearance.
Cut, shred or dice the food uniformly. Slices should be between 6mm and 20mm thick. Meats should not be thicker than 5mm.
To avoid browning of fruits soak cut fruit in lemon or pineapple juice for 2-3 minutes, then place in the dehydrator. Alternatively soak in an ascorbic acid solution (made as per manufacturers instruction) for 2-3 minutes, then place in the dehydrator.
Waxy fruits, (such as peaches, grapes, blueberries, etc.) should be dipped in boiling water to remove the wax. This allows moisture to escape easily during dehydration.
Blanching can also be used to pre-treat foods for dehydration.
Preparation of Foods
For best results, select the freshest foods available to dehydrate. Note that immature fruits and vegetables do not have as much colour and flavour as those that are fully matured. Foods should be dehydrated as soon after purchase as possible. Foods high in sugar such as apples, pears, peaches and bananas are prone to darkening due to oxidation of the sugars.
Below are some pre-treatments that will help to reduce this effect:
Lemon and pineapple juice are natural antioxidants. Place the sliced produce in fresh lemon or pineapple juice for a few minutes, remove, drain and place on the dehydrator shelf. For extra fla
-
 Categories: Product Reviews, Health Recipes, Living Food, Food Dehydrator Reviews, Food Dehydrator Recipes07,June,2018Read More
No one else will think of this one, a truly unique Christmas gift for pet lovers... make your own healthy dog treats.
We all know someone who loves their dog more than people. If you want to find a unique Christmas gift for pet lovers that no one else will think of start here with our food dehydrators. Sound boring? It definitely won't be for them when they are making their own healthy dog treats. Or how about buying one for yourself and giving the treats as a gift! Either way they will love it.
Pet lovers love to know exactly what their doggy treats are made of. With unhealthy Christmas treats everywhere at the moment and overseas companies taking over some of our own Australian brands what is in the doggy bag may not be such a treat.

Healthy Bite
There are many news items at the moment suggesting that here are some dangerous Christmas dog treats on the market that should be avoided at all costs. Some that can result in serious injury and even death. Beef jerky in particular. If you choose a unique Christmas gift for pet lovers from our a food dehydrator range they can make delicious and healthy beef jerky and other treats for their furry best friend at home in their own kitchen.
-
 24,April,2017Read More
Make your own! Try these easy and (much) healthier snack recipes using a food dehydrator.
Snacks can easily be one of our biggest and unknown over-indulgences, with most snacks packed with hidden refined sugar, preservatives and colouring. Making your own snacks will not only save money but you can control exactly what goes into them, meaning the end result is much more wholesome and nourishing. Take a look at our dehydrator snack recipes below:
Click ahead to view the dehydrator snack recipes here...
Beetroot & Sweet Potato Chips
Kale Chips
Dried Fruit
Mixed Berry Fruit Rollup
Apricot & Coconut Fruit Rollup
Activated Muesli Bars
Gluten & Dairy Free Bread
Beef JerkyBeetroot & Sweet Potato Chips
Dried not fried! Use your favourite vegetables to create healthy chips.
- 1 large sweet potato (yam)
- 3 whole beetroots
- 1 tbsp paprika
- 2 tbsp of oil (coconut or olive)
- Rock salt to season
1. Thinly slice sweet potato and beetroot, ideally into 3mm slices. The thicker the chips, the longer drying time they will require.
2. Place slices into mixing bowl and toss with oil and paprika.
3. Dehydrate at 55°C for 8 hours. Adjust drying time depending on thickness of vegetable slices
4. Season with sea salt
-
 27,March,2017Read More
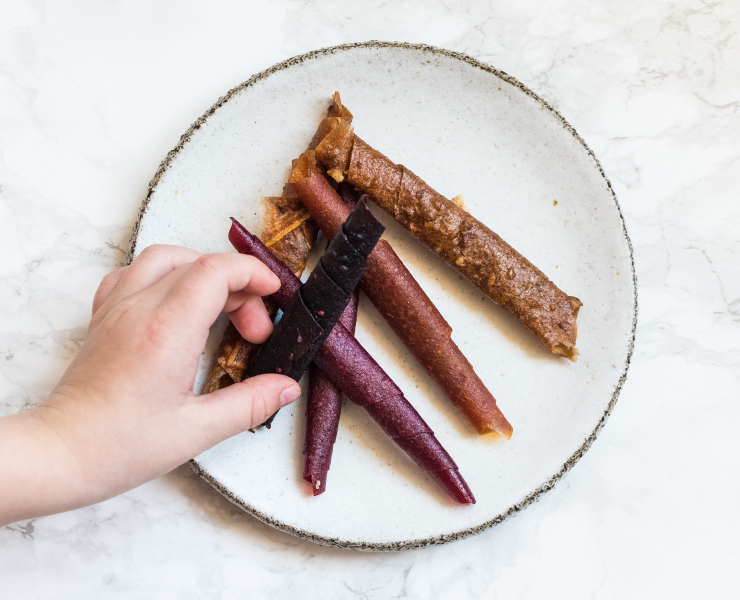
Fruit roll ups - a healthy, cost saving and delicious alternative to store bought 'mystery treats'
Fruit roll ups are very easy to make with the horizontal style of BioChef Arizona or BioChef Savana Food Dehydrators . Combining yoghurt and fresh fruit (not frozen fruits) and naturally spiced or sweetened produces a high energy, nutritious snack food.
Use ripe or slightly overripe produce that blends and tastes good together. Here are a couple of ideas to try.
- strawberries and yoghurt
- bananas and pineapple with a sprinkle of cinnamon
- seasonal berries and peaches with a dash of honey
- mango with a small amount of fresh ginger
- apple and kiwifruit
Wash and remove any blemishes, stems or pits and peel the produce if desired. Puree the produce with or without some yogurt in a BioChef Blender until smooth.
Pour the mixture onto the sheets and place on the tray of your food dehydrator. When the fruit leather has dried, it will be a bit shiny and non-sticky to touch.
Allow it to cool and peel it from the tray. Roll into a tight cylindrical shape and store in an airtight container. You then have your own fruit roll ups at a fraction of the price and with the knowledge of exactly what is in them.
Strawberry and yoghurt roll-ups
Simply blend the following fresh ingredients:
- punnet of strawberries
- bananas
- dollops of good quality yoghurt
Vitality 4 Life have a wide range of food dehydrators using the horizontal style which is superior for even drying of ingredients. The BioChef range has carefully developed a range which will fit
-
Read More
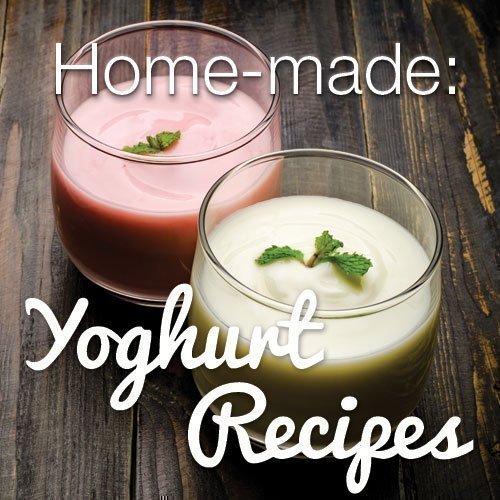
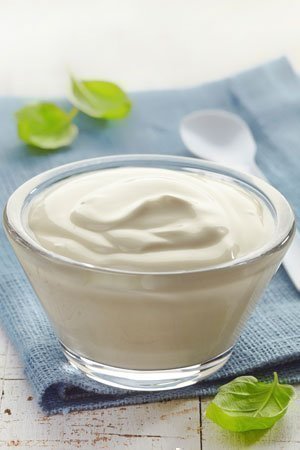
Making your own yoghurt at home is super easy with the use of a dehydrator!
Yogurt is a super food, rich in protein, calcium and probiotics. There are many benefits that come with eating this creamy treat. Yoghurt can help to maintain a healthy digestive tract as well as reduce high blood pressure and promote heart health.
Benefits of Making your own Yoghurt
Yoghurt is so simple to make at home in your Dehydrator - and its nice to know that you and your family are eating whole foods with no added preservatives! Home made yoghurt is high quality whole food and low in cost to make. Freshly-made yoghurt is filled with countless numbers of beneficial bacteria that will help aid digestion and the probiotics will assist in boosting your immune system!
The secret to good yoghurt is that it contains live cultures. There are four major strains of bacteria to look for: L. acidophilus, L. bulgaricus, S. thermophilus, and bifidobacteria.
Homemade Yoghurt Recipe
1. Pour 1L of milk into a saucepan and stir constantly over a medium heat until it reaches 85°c, make sure the milk does not boil and that it doesn't stick to the bottom of the pan.
2. Once this temperature has been reached remove from heat and let cool until it is about 35 - 40ºc
3. Whisk in a small tub of yoghurt (this will introduce the active cultures into the milk to enable the fermentation process to begin) Make sure yogurt is mixed in well with milk
4. Transfer mixture into glass jars with lids (mason jars are perfect for this)
5. Remove all trays from dehydrator and place jars inside.
6. Dehydrate for 8 to 10 hours. Do not stir or check yogurt during this time.
7. Once finished, place in fridge. Yoghurt will thicken as it cools.
-
Read More
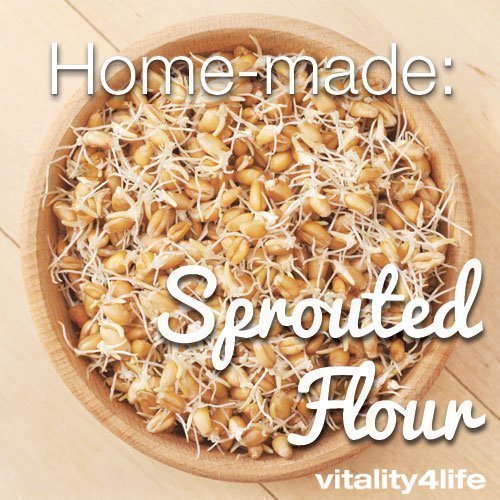
Sprouted flour… it’s a labor of love, and although it may take a while the end result it is definitely worth it! We will explain the benefits of sprouted flour and how you can create your own sprouted flour using a food dehydrator.
Why Make Sprouted Flour?
Back in the day the traditional way to prepare grains was to soak them until they had begun to form little sprouts, they did this for easier digestibility, to increase the essential vitamins like vitamins B and C and to reduce the bad phytic acid which can actually decrease the bodies ability to absorb iron, magnesium, zinc, copper and calcium! This method of preparing grains can even help break down the gluten in the wheat berry making it possible for people with a gluten intolerance to enjoy grains again!
Sprouted grain flour is fast becoming popular in many home kitchens and cafes. Many healthy home enthusiasts are returning to these wise and traditional preparation methods. Make it in bulk and store it in airtight containers in your cupboard or you can even freeze it to use in sweet treats like sprouted grain cookies, or sprouted bread. There is nothing better than knowing you have made your own healthy flour!
Sprouting takes a bit of time, but it is quite easy and can be done in bulk so that you only have to do it every month or so depending on how much sprouted flour you use. You can sprout any grain, provided you’re working from the whole grain berry, not a rolled, flaked or otherwise damaged grain. Wheat, spelt, oats and barley all work well for sprouting.
Do be mindful that you need to begin the dehydrating process not long after the root tip appears, if left to sprout for too long you run the risk of “malting” the grains. This can cause the flour to become overly sweet and you can end up with a gooey under-cooked texture when used for bread and cakes.
-
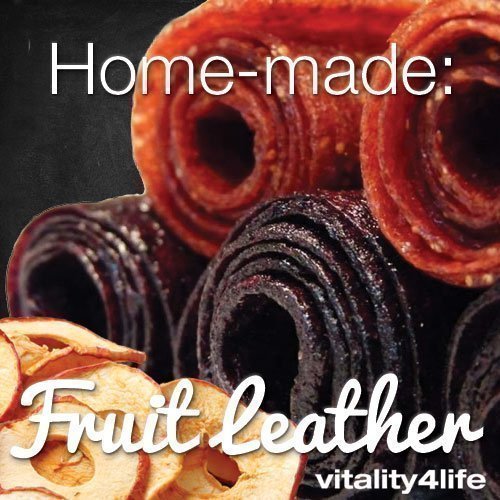
Read More
A fruit leather or fruit roll up is such a simple, easy and healthy snack to have in the cupboard for times when you just have to have something a little sweet. A fruit leather or fruit roll up is basically blended fruit which is poured out into a thin consistency and dried out. You can think of it like making a smoothie and drying it out! A fruit leather is generally fruit blended but other things can be added to enhance flavours and make unique combinations! Some great things to add to fruit leathers are yoghurt to give the roll ups a creamy texture or spices such as cinnamon work really well too.
The best tools to have when making fruit roll ups are a a blender and a food dehydrator. A blender will allow you to whip the ingredients together in moments and give you a beautiful smooth texture. Also, by having a blender there is no need to stew the fruits over a stove prior to straining or pureeing. You can simply put the raw ingredients into a blender and the work is done instantly. The fruits then retain their living enzymes and nutrients as they have not been exposed to heat and stewed for hours.
A food dehydrator would replace an oven in the fruit leather making process. A food dehydrator usually costs about 4 cents an hour to run compared to an oven which costs around 60 cents an hour to run! This adds up when the average time taken to make a fruit leather is 8 hours!
You can find our favourite blender and dehydrator for making fruit roll ups at the bottom of this page!
Tips for Making Fruit Leathers
- Simply select ripe or slightly overripe